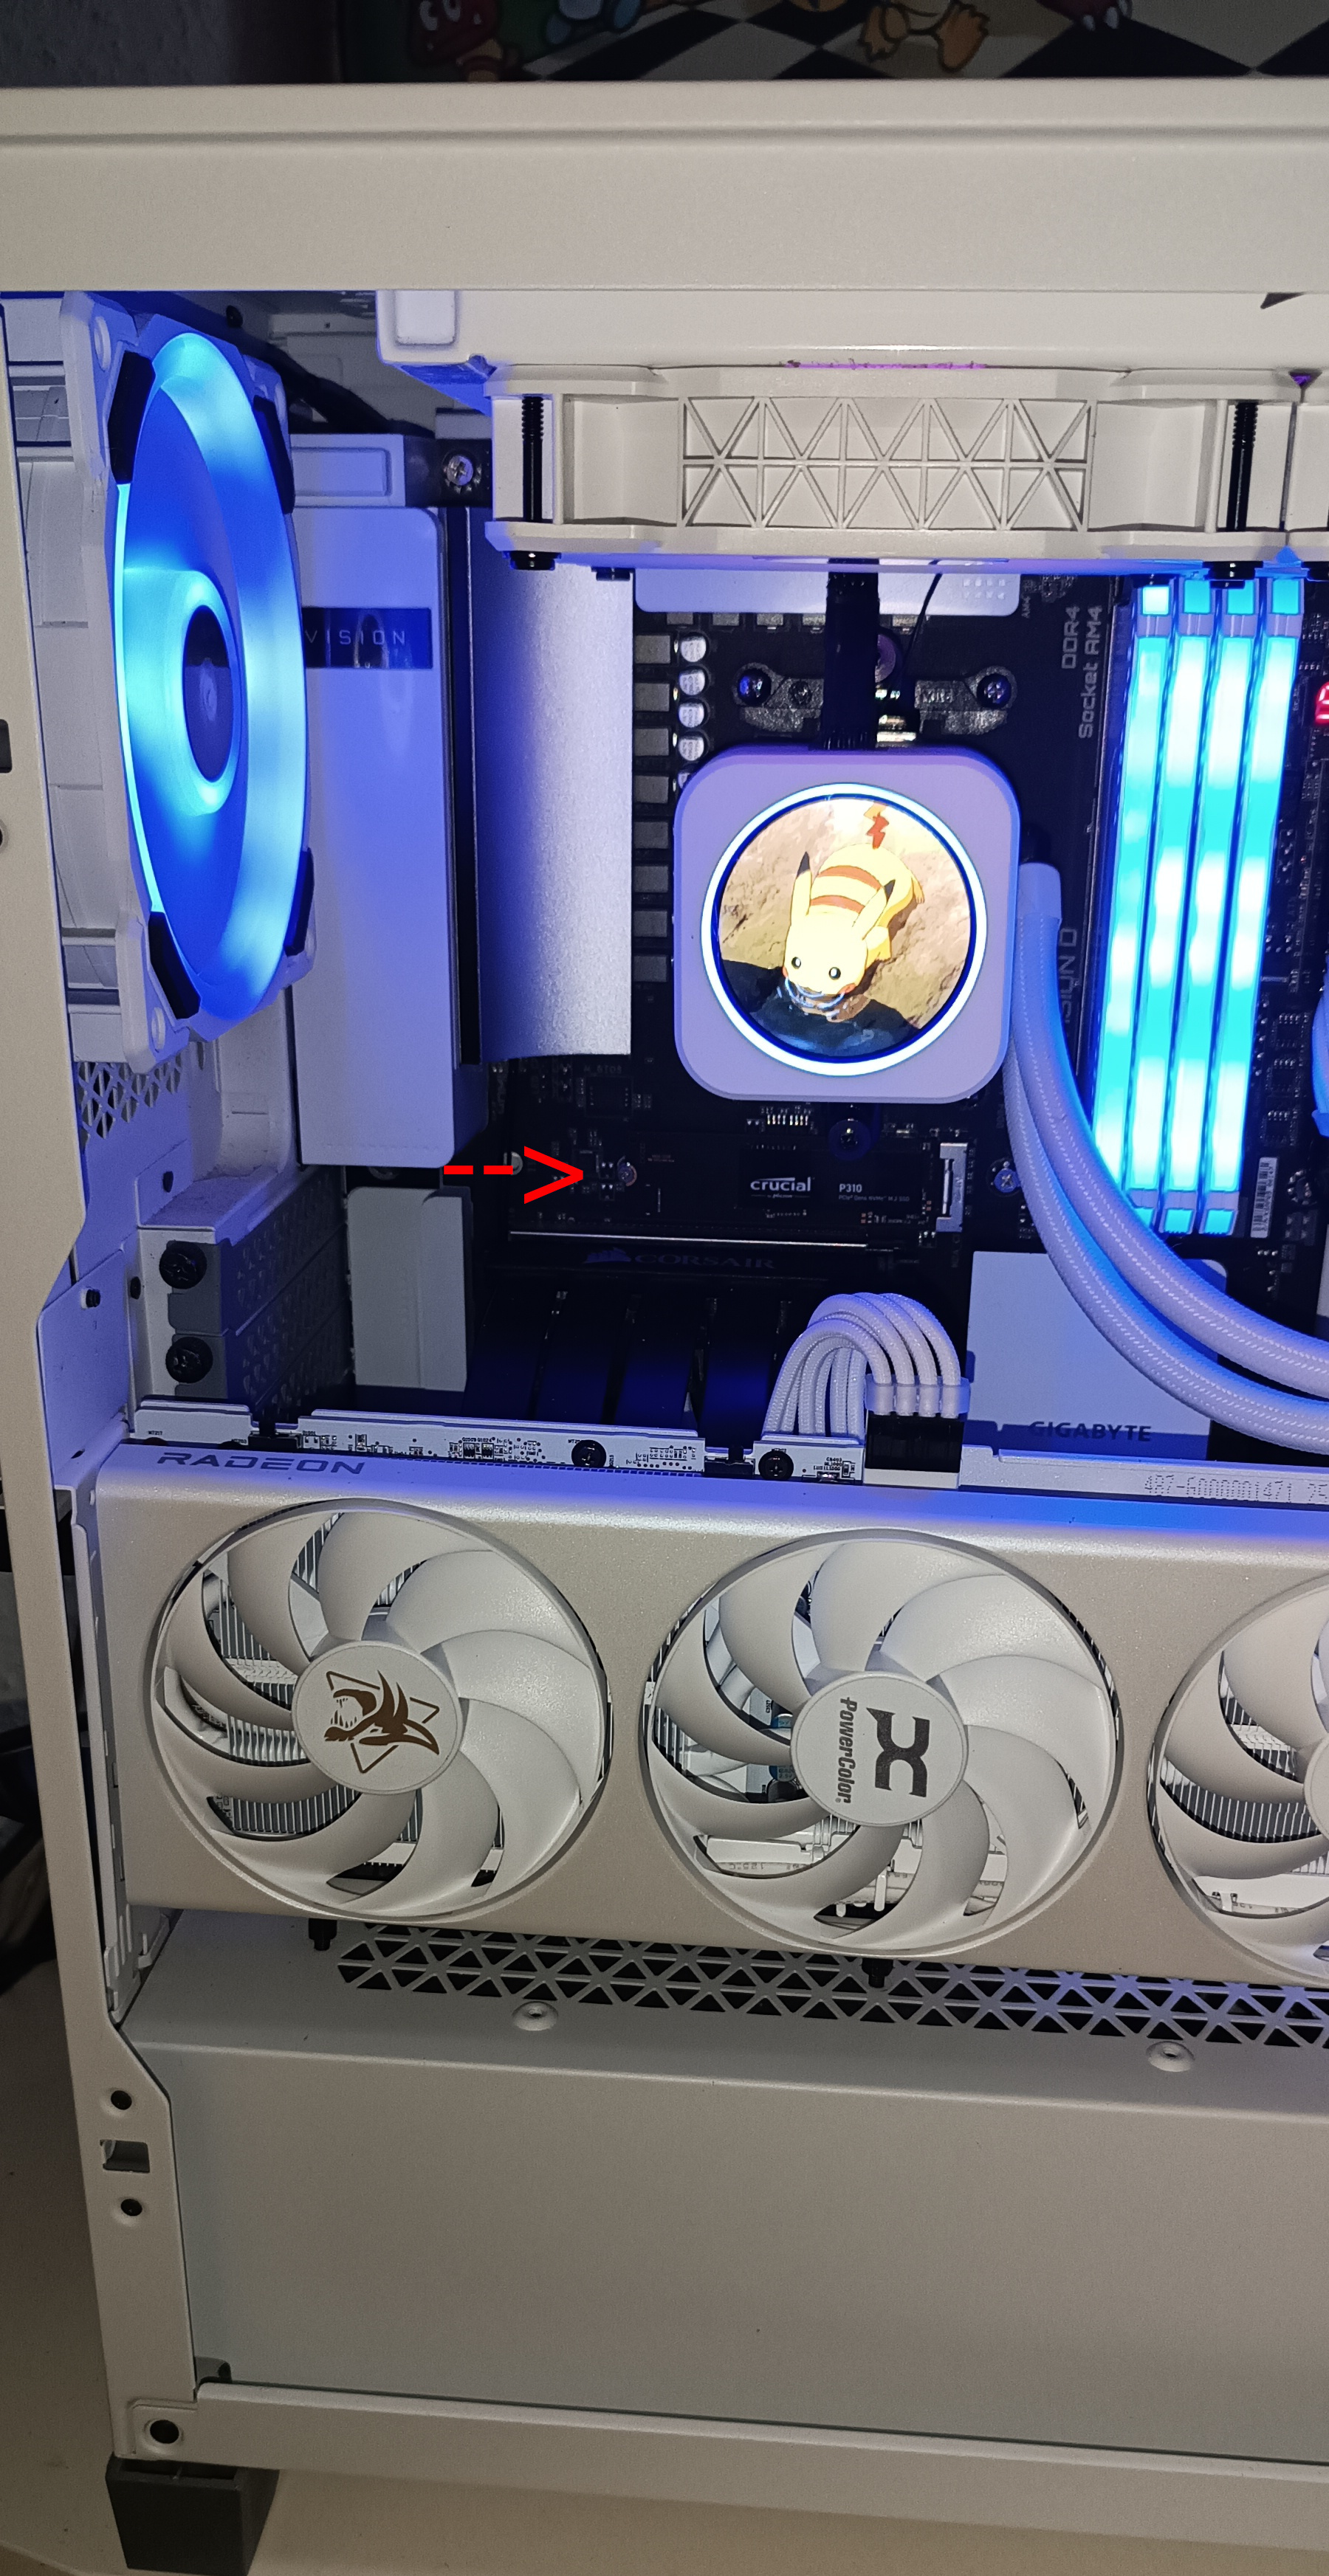
Situation
The system was open for a routine M.2 SSD installation. The SSD itself installed without difficulty, leaving only the tiny mounting screw to secure.
What Happened
While positioning the mounting screw, it slipped from the screwdriver. It did not disappear behind the motherboard. Instead, it fell through one of the ventilation openings in the case floor beneath the motherboard, which led directly into the power supply compartment.
Installing the SSD had taken about one minute. Recovering the screw took roughly forty-five minutes.
The graphics card and PCIe riser had to be removed. The PC was taken off its stand, the cables were disconnected, and the opposite side panel was opened. Then the power supply was removed and the case was carefully shaken.
Just as opening the power supply itself became the next option, the screw finally fell back out. Only then could the SSD be secured.
Solution
The screw was recovered, and the SSD was secured using that same screw. The entire computer was then reassembled.
Lesson
Tiny screws obey gravity with remarkable precision.
Since then
Every M.2 installation now begins by removing the graphics card and PCIe riser, then placing a simple sheet of paper over the ventilation openings beneath the motherboard before touching the M.2 screw. That is the personal workflow this incident produced.